Dropshare 4.7 or newer
To create a Microsoft Azure Blog Storage connection in Dropshare for Mac, open the Preferences window, and navigate to Connections. Click on the Add (+) button and select Microsoft Azure Blog Storage.
Step 1: Create Storage Account
To upload files to Blob Storage with Dropshare, a storage account must exist in the Azure Dashboard.
If you want to use an existing storage account, continue with step 2.
Click on Add (+), Storage, Storage account - blob, file, table, queue to do so.
Configure the storage account according to your needs and continue with the next step when you're done.
Step 2: Create Container
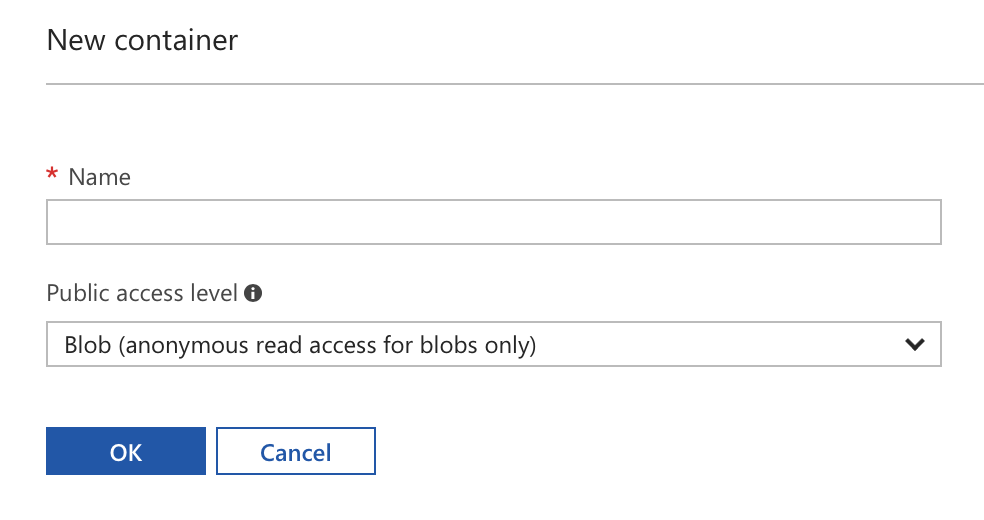
Within your storage account, a new container should be created for Dropshare. Open your storage account's Overview page, select Blobs and click "+ Container".
Select a name of your choice and select Public Access Level "Blob".
Step 3: Create Shared Access Signature (SAS)
Dropshare supports SAS authentication. Click on Shared Access Signature in your storage account's menu, and generate a new SAS with the following configuration options:
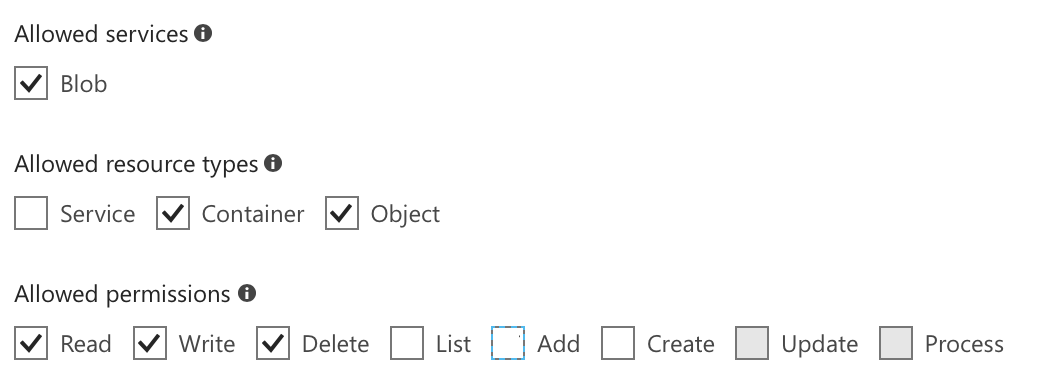
Make sure to select a valid Start expiry date and an End expiry date in the far future, or you will have to update it frequently in the Dropshare configuration.
Dropshare only supports HTTPS with Azure so please select Allowed protocols: HTTPS only.
Click Generate SAS and copy the generated token for later use.

Step 4: Set up the Dropshare connection
Now that you're done with the Azure configuration, go back to Dropshare and configure your new Blob Storage connection as follows:
| Storage Account | Your storage account name (without https:// or such) |
| SAS Token: | The SAS token generated in Step 3, starts with ? |
| Container: | The name of the container you've created in Step 2 |
Click Test Connection to make sure everything has been set up correctly, and you're done!
Set up a custom domain
Dropshare 5.2 or newer
In order to use a custom domain with Microsoft Azure Blob Storage, please make yourself familiar with this support article. Please not that when using a custom domain, HTTPS encrypted uploads / downloads are not supported by Microsoft.
Set up your Storage account and DNS record
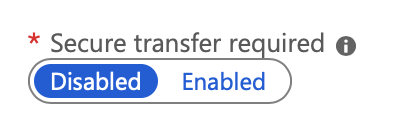
Navigate to your storage account and open Configuration. Make sure Secure transfer required is disabled for your account. Next, navigate to Custom domain. Follow the instructions and set up a CNAME record according to them.
Set up Dropshare to use the custom domain
Once you've completed the steps above, enter the Domain Alias in your Dropshare connection preferences, e.g. azure.mydomain.com and test the connection to complete the setup.
Last updated: